Fix a Drafty Door in an Hour (Weatherstripping That Lasts)

If this fix touches water, gas, or power, the guide starts with the shutoff step and says when a licensed pro should take over.
Product links in this guide are affiliate links. If you buy through one, we may earn a small commission at no extra cost to you. It never changes which products we recommend.
Stand at your front door on a windy day and hold a hand near the bottom edge. If you can feel outside coming in, you’re air-conditioning the porch, and the fix costs less than a pizza. Sealing a door is the classic first home-efficiency job: cheap parts, forgiving installation, and a result you can feel the same evening.
Quick Answer
Cold (or hot) air gets past a door in two places: around the sides and top, where old weatherstripping has flattened, and under the bottom, where there’s either no door sweep or a worn one. Find the gaps with the flashlight test, press new weatherstripping into the door jamb, and screw a sweep to the door’s inside face. About an hour, $10–$25 in parts, and the towel on the floor retires.
What You’ll Need
- Foam or silicone weatherstripping tape, $6–$12 a roll (silicone bulb for the front door, foam for light-duty doors)
- A door sweep, $8–$15 (the screw-on aluminum-and-rubber kind outlasts adhesive ones)
- Scissors or a utility knife, a tape measure, and a screwdriver or drill
- A hacksaw if the sweep needs cutting to width (most do)
- Rubbing alcohol and a rag to prep the jamb surface
Step-by-Step
Find the actual gaps
At night, have someone shine a flashlight around the closed door from outside while you watch from inside. Every line of light is a leak. Alone? Close the door on a dollar bill at several points around the frame: where it slides out with no drag, the seal isn’t sealing. Map the leaks before buying anything; a door that only leaks at the bottom needs a $10 sweep, not a full kit.
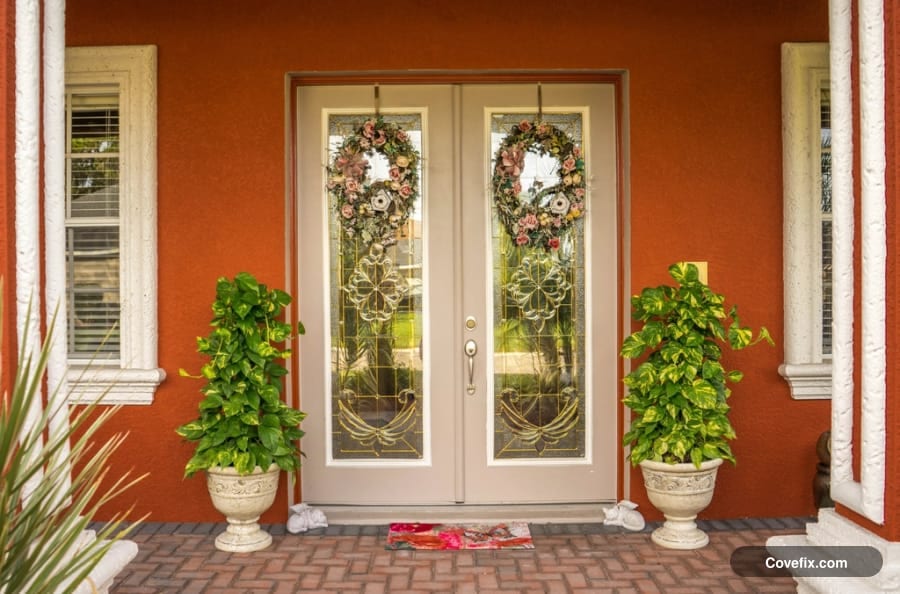 The towel era. It works for one door position, one draft direction, and zero visitors.
Replace the weatherstripping
Pull the old flattened stripping out of the jamb (it peels or slides out of its groove) and clean the surface with rubbing alcohol, because adhesive on dust lasts a week. Cut the top piece first, then the two sides, pressing the new stripping into the corner where the door stop meets the jamb, adhesive side to the wood. The door should close with a soft press of resistance: snug, not slammed.
Install the door sweep
Measure the door’s width, cut the sweep to match with the hacksaw, and screw it to the inside face of the door so its rubber blade just kisses the threshold when the door is closed. Close the door before final tightening and adjust the height in the slotted screw holes: touching the floor along its whole length, but not dragging. A sweep that drags will be ripped loose within a month.
If the sides and top already seal well and the leak is only at your ankles, skip the full weatherstripping job and go straight to replacing a worn door sweep.
Check the threshold
If light still shows at the bottom corners, many exterior thresholds adjust. Look for a row of screws along the top and turn them a quarter at a time to raise the threshold toward the sweep. No adjustment screws and still a corner gap? A stick-on corner seal pad ($3) finishes the job.
Re-test and walk away
Repeat the flashlight or dollar-bill test at the same spots. Every previous leak should now grip the bill and show no light. That’s the whole job. Check it again when seasons change, because wood doors swell and shrink and the screw-adjustable sweep exists for exactly that.
Time and Cost
| Scope | Time | Cost |
|---|---|---|
| Door sweep only | 20 min | $8–$15 |
| Full perimeter reseal + sweep | 45–60 min | $15–$25 |
| Handyman doing the same door | — | $100–$200 |
Why This Works
A closed door isn’t sealed. It’s just near the frame, with an engineered gap so it can swing. Weatherstripping fills that gap with something compressible: the door squeezes it, the seal conforms, and moving air stops. Air leaks are also why the room feels colder than the thermostat claims: moving air strips heat off your skin. Stop the movement and the same 68°F reads as comfortable, which is where the savings actually come from.
Mistakes to Avoid
- Sticking new stripping over old adhesive. It telescopes off within weeks. Strip, clean with alcohol, then stick.
- Buying stripping by guesswork. Too thin doesn’t seal; too thick and the door won’t latch. Close the door on a piece of the old stripping (or measure the gap with stacked cardboard) and buy that thickness.
- Mounting the sweep too low. Dragging sweeps tear off and gouge floors. Blade kisses the threshold, and set it with the door closed.
- Sealing the door and ignoring the frame. If the trim around the frame leaks where it meets the wall, air routes around your new seal. A bead of paintable caulk along the trim finishes the envelope.
While you have the screwdriver out: a front door that drafts often squeaks too, and the hinge fix takes five of the same minutes.
FAQ
Which type of weatherstripping lasts the longest?
Silicone bulb and metal-backed V-strip lead. Both routinely go 5+ years on a front door. Adhesive foam tape is the cheapest and easiest but compresses flat in a season or two on a heavily used door. Foam is fine for a guest-room door; the front door earns the better material.
Do fabric draft stoppers (door snakes) actually work?
They block the gap while they're in place, so yes, as a band-aid. But they're on the floor, they move every time the door opens, and they do nothing for the gaps along the sides and top, which leak just as much. A $10 door sweep does the bottom permanently.
How much money does sealing a drafty door actually save?
The Department of Energy puts air sealing at up to 10–20% off heating and cooling bills for a whole leaky house; one door is a slice of that. Realistically: a door you can see daylight under, in a place with real winters or real AC bills, pays back its $15 of parts within the season.
I weatherstripped and it still drafts. What now?
Check the latch side with the dollar-bill test at three heights. If the bill pulls out free at the top but drags at the bottom, the door is sagging on its hinges, pressing unevenly on the seal. Tighten the hinge screws (a 3-inch screw into the top hinge works wonders) before buying thicker stripping.
Related fixes
Walls, Doors & Floors
Patch Nail Holes in Drywall Before Move-Out (10 Minutes, $8)
Spackle, a putty knife, and fine sandpaper make nail holes disappear. The exact steps, drying times, and how to handle paint that doesn't match.
Time10 min per room + drying Cost$8–$12 easy
Walls, Doors & Floors
Fix a Squeaky Door Hinge for Good (WD-40 Isn't Enough)
WD-40 quiets a hinge for a week. Pulling the pin and coating it with silicone or lithium grease fixes it for years. Here is the 5-minute method.
Time5 min per door Cost$6–$8 easy